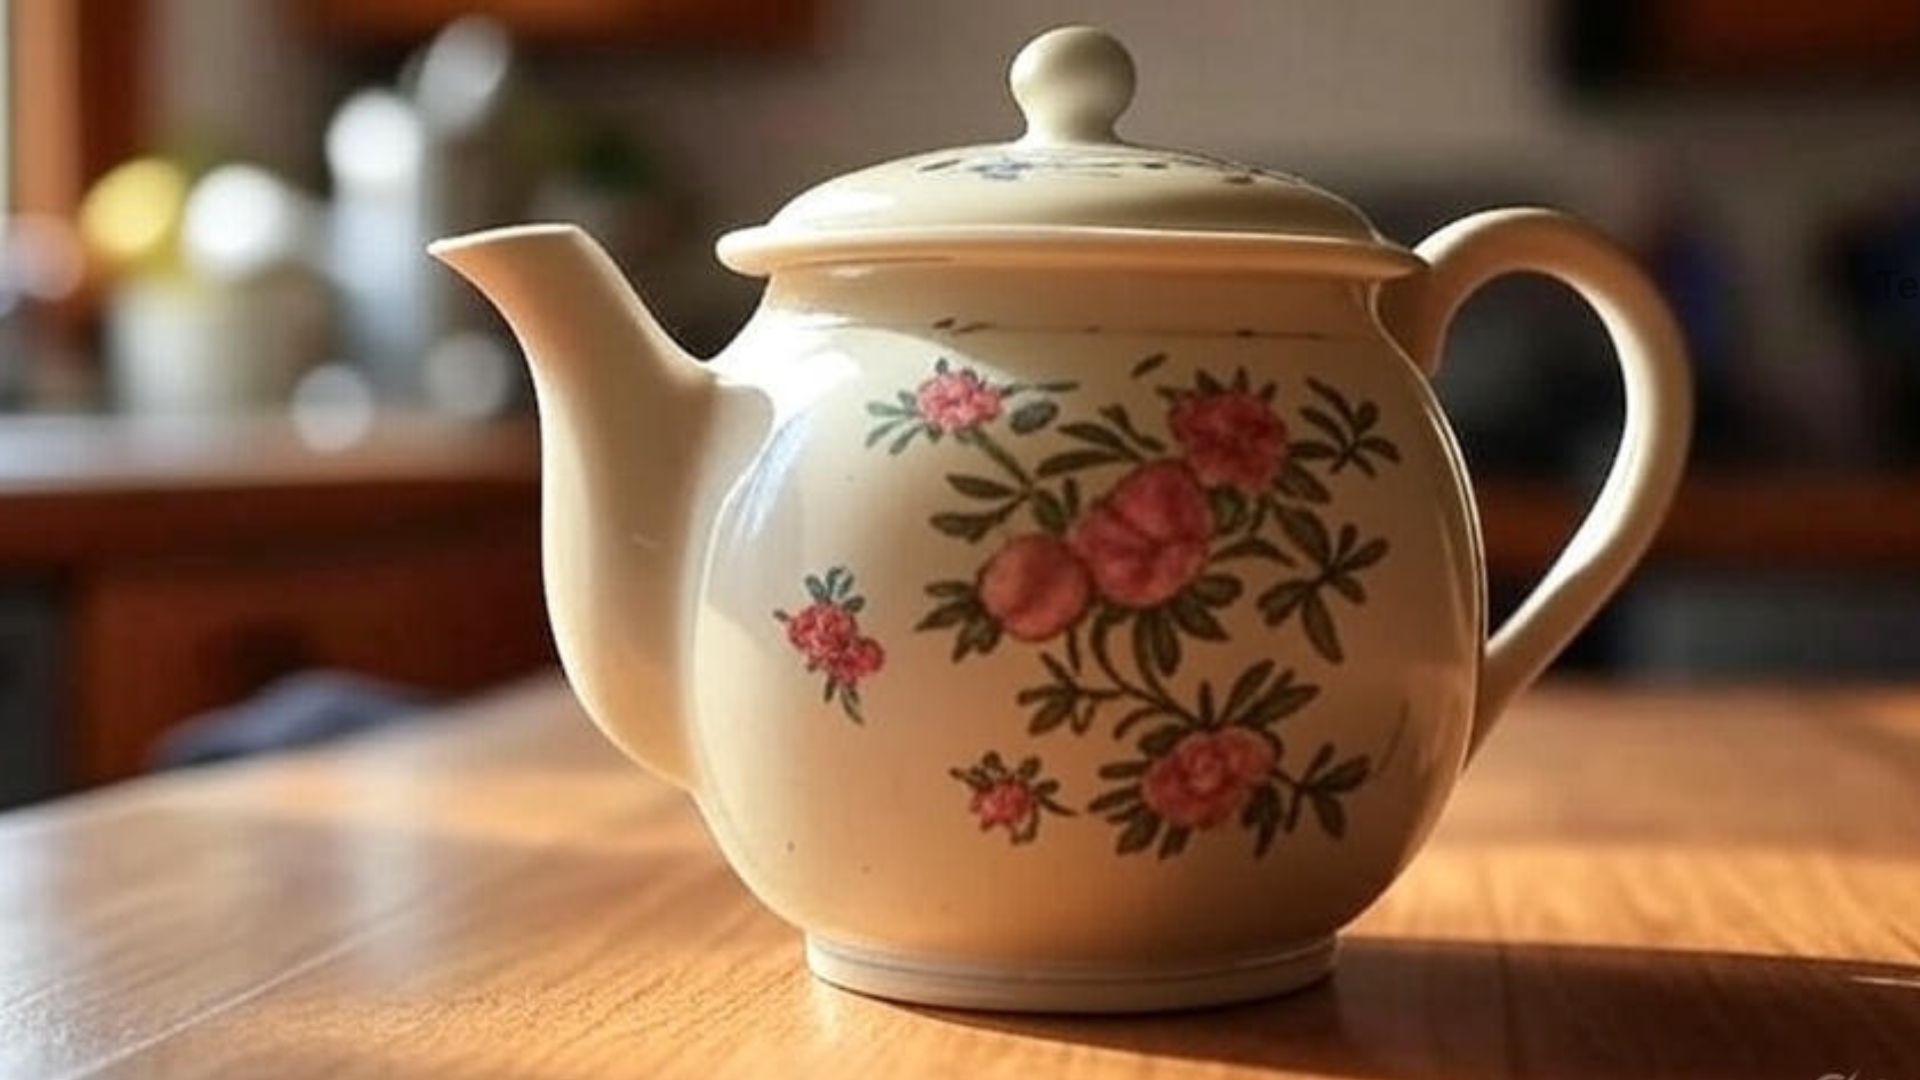
Few things are more comforting than brewing tea in your favorite teapot. But when you notice water dripping from the lid or seeping through a tiny crack, that cozy ritual suddenly becomes frustrating. Instead of tossing your beloved teapot or hiding it in the back of the cupboard, you may be able to repair it yourself with just a little effort.
This guide will walk you through how to fix a leaky teapot lid step by step. We’ll also cover why teapots leak, what tools and adhesives to use, how to test your repair, and some teapot care tips to prevent future leaks.
Whether your teapot is ceramic, porcelain, or metal, the methods below can help extend its life and keep your tea-brewing tradition alive.
Common Reasons Why Teapot Lids Leak
Before diving into the repair process, it helps to understand why leaks happen in the first place. A leaky lid can be caused by:
- Cracks in the ceramic or porcelain – often caused by dropping or temperature shocks.
- Loose-fitting lid – if the lid doesn’t sit snugly, steam and liquid can escape.
- Chipped edges – even small chips on the rim can create gaps.
- Old adhesive failure – for teapots with previously glued parts, the seal may weaken over time.
- Manufacturing flaws – sometimes cheaper teapots aren’t perfectly sealed at the seams.
👉 Knowing the cause will help you decide whether a simple adhesive fix will do the trick or if you need professional restoration.
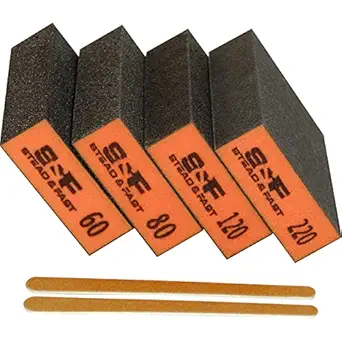
Sanding Sponge
Prepping the surface ensures a strong bond. A waterproof fine-grit sandpaper helps remove glaze and smooth chips.
Also Read: How to Use a Gaiwan for Gong Fu Tea Brewing
Step-by-Step Guide: How to Fix a Leaky Teapot Lid
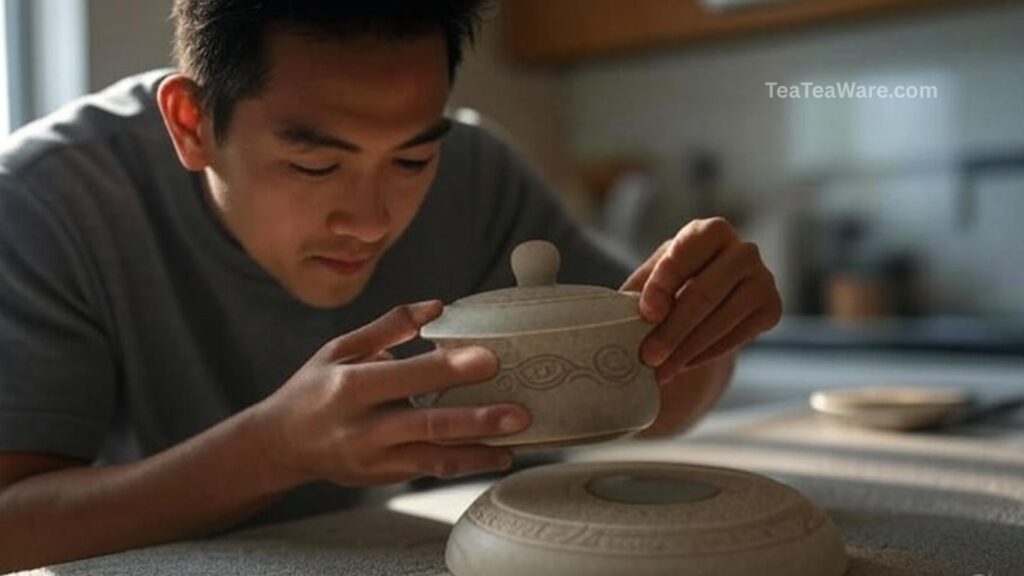
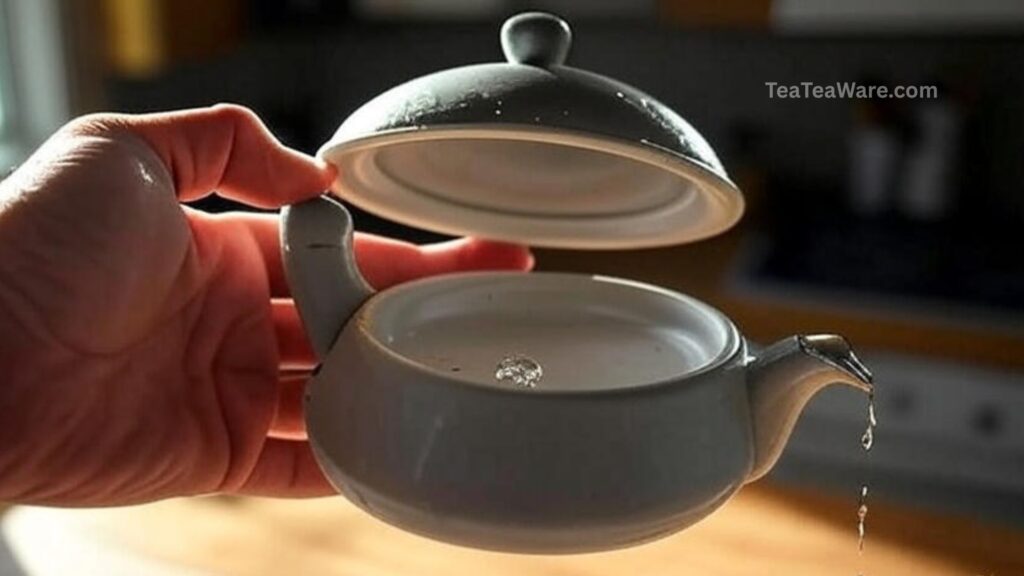
1. Find the Leak
First, locate the exact spot where water is escaping.
- Fill the teapot halfway with water.
- Place the lid on securely.
- Tilt or pour slowly while watching closely for drips.
Leaks usually show up near the lid’s edge, the spout connection, or tiny cracks in the ceramic.
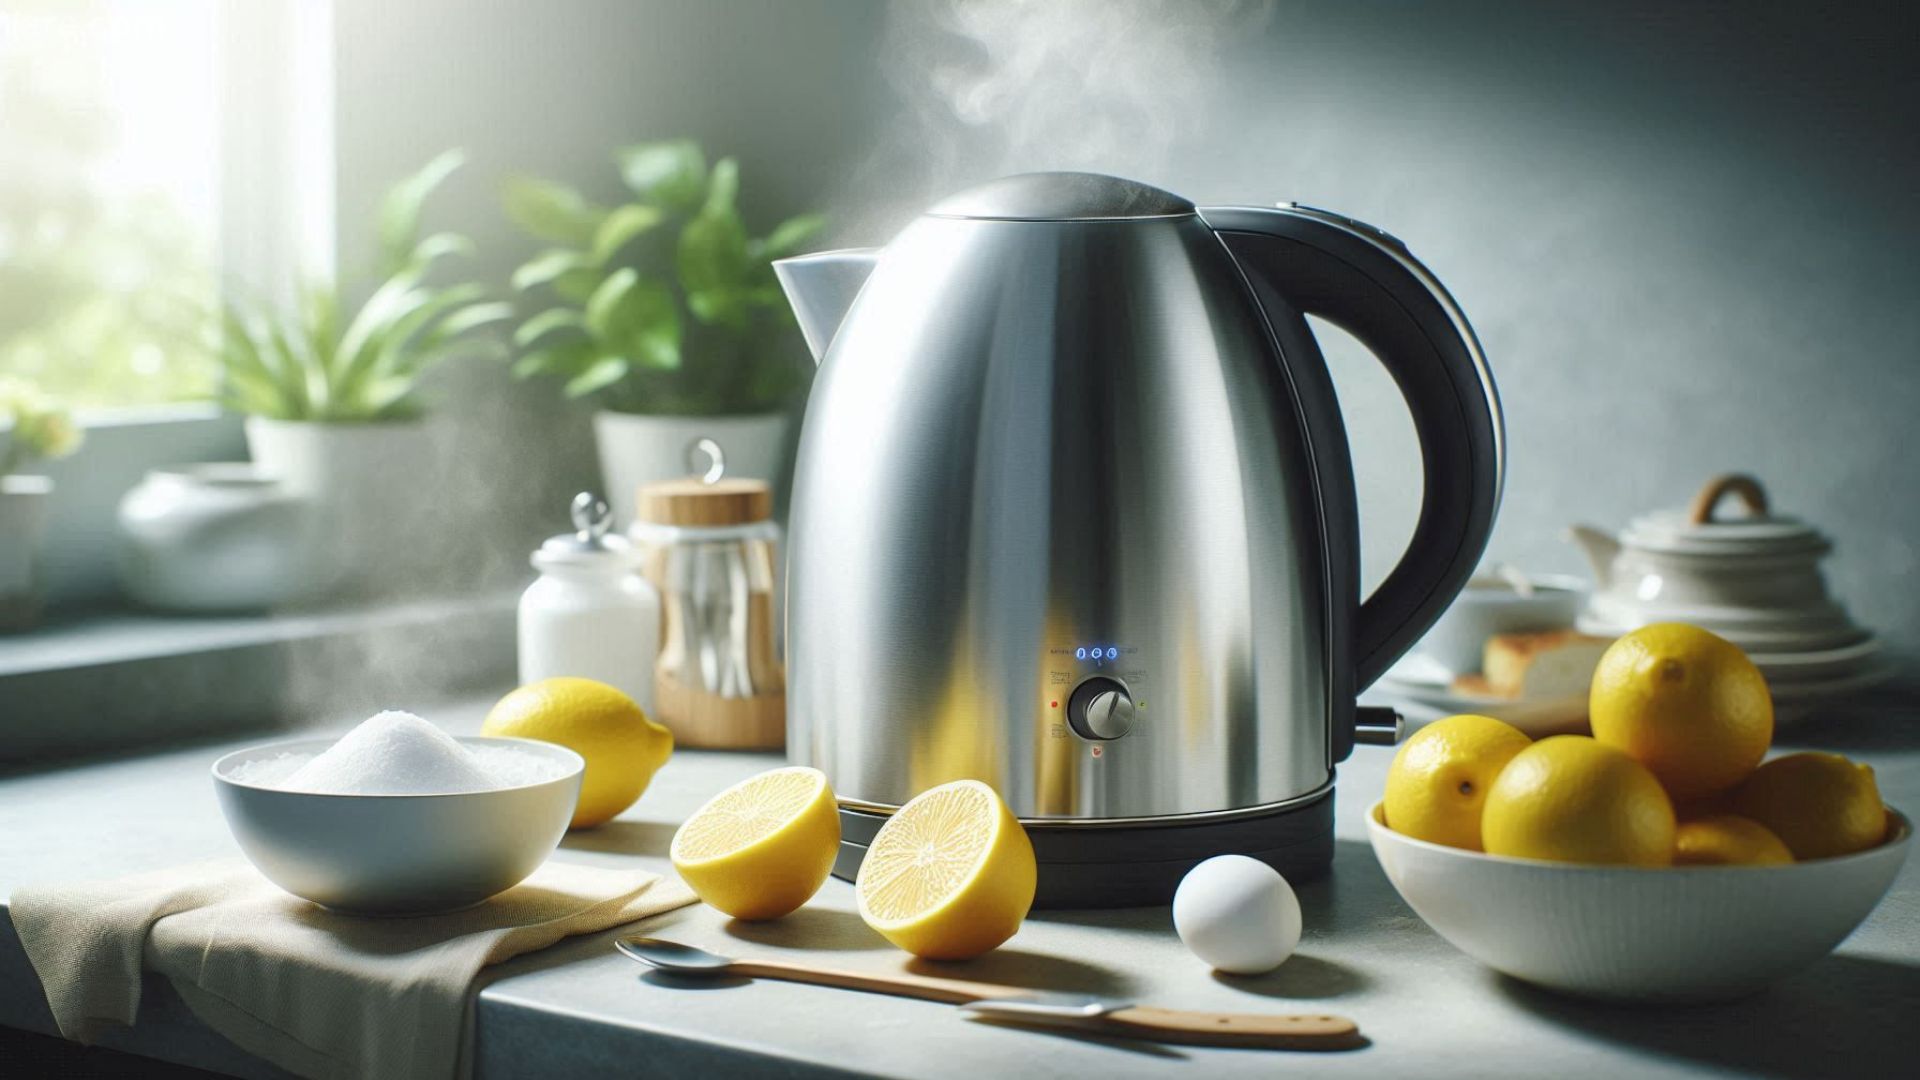
2. Gather Your Tools and Materials
Here’s what you’ll need:
- ✅ A clean workspace
- ✅ Soft cloth or microfiber towel
- ✅ Fine-grit sandpaper (or a sanding sponge)
- ✅ Food-safe adhesive (heat-resistant epoxy or ceramic glue)
- ✅ Small clamps or masking tape
Pro Tip: Always use food-safe, heat-resistant adhesives designed for ceramics or cookware. Avoid general-purpose super glue, as it may release harmful chemicals when exposed to boiling water.
🔗 Learn more about food-safe adhesives (FDA Guidelines)
3. Clean the Area Thoroughly
- Wipe the leaking spot with a soft, damp cloth.
- Remove dust, grease, or tea residue.
- Let it dry completely — adhesive won’t stick properly on wet surfaces.
4. Smooth Out Rough Edges
If the area around the crack or chip feels uneven:
- Use fine-grit sandpaper to smooth it gently.
- Be careful not to scratch decorative glazing or patterns.
- Wipe off any sanding dust before moving on.
This step ensures better adhesion and a cleaner finish.
5. Apply the Adhesive
- Follow the instructions on your adhesive packaging.
- Apply a thin, even layer to the damaged area.
- For broken-off pieces (like a loose lid knob), apply glue to both surfaces.
- Press firmly and hold in place.
- Use masking tape or a small clamp to keep it steady while drying.
👉 Recommended product: Ceramic Glue Repair Kit (100g) – safe for kitchen use and resistant to heat.
6. Let It Cure Properly
Patience is key. Most adhesives require at least 6–12 hours to set fully. Some may need a full 24 hours before they’re heat-safe.
Avoid rushing — boiling water too soon can undo your hard work.
7. Test the Repair
Once the adhesive has cured:
- Fill your teapot with room-temperature water.
- Tilt and pour slowly.
- Check if the leak has stopped.
If it holds, congratulations — your teapot is ready for many more tea sessions! If not, repeat the process or consider consulting a professional ceramic restorer.
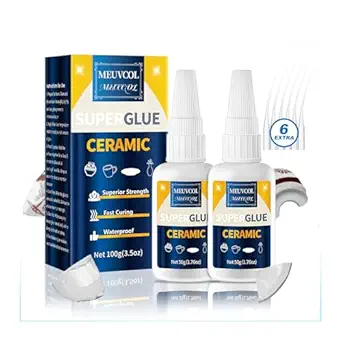
Ceramic Glue Repair Kit, 100g
For repairing a cracked or leaky lid, you need an adhesive that’s heat-resistant, non-toxic, and safe for kitchen use.
Also Read: How Indian Chai Is Traditionally Brewed and Served
Safety Warning: When NOT to Repair
While DIY repairs are great for minor issues, there are times when you should avoid using a repaired teapot:

- Large cracks running through the body of the pot.
- Old or antique teapots meant for display (restoration should be done by an expert).
- If you used non-food-safe glue by mistake.
In these cases, it’s safer to retire the teapot or keep it for decorative purposes.
Bonus: Preventing Future Leaks
Once your teapot is fixed, take steps to keep it in good condition:
- ✅ Avoid sudden temperature changes – never pour boiling water into a cold teapot.
- ✅ Use gentle cleaning methods – handwash instead of dishwasher.
- ✅ Handle the lid with care – most lid leaks come from knocks or falls.
- ✅ Inspect regularly – small cracks can be caught early before they worsen.
For more tea care tips, check out Wikipedia’s history of teapots for insights on materials and durability.
Real-Life Example: A Quick Fix That Lasted Years
One tea enthusiast shared on a forum how their grandmother’s porcelain teapot developed a hairline crack near the lid. Instead of throwing it away, they used epoxy designed for kitchenware, allowed it to cure overnight, and that same teapot is still being used today — more than five years later.
This shows that a simple fix can make sentimental teapots last generations.
Conclusion: Keep the Tea Flowing
A leaky teapot lid doesn’t mean the end of your tea rituals. With the right materials, patience, and a steady hand, you can repair your teapot at home and continue brewing with your favorite vessel.
Not only does fixing it save money, but it also preserves the sentimental value of a teapot that may hold years of memories.
So next time your teapot drips, remember — it’s not broken forever. A little DIY care can restore it and keep the tea flowing for years to come.
Frequently Asked Questions (FAQs)
Q1. Can I use super glue to fix a teapot lid?
Not recommended. Most super glues are not food-safe and may weaken when exposed to boiling water. Use epoxy or ceramic adhesive labeled safe for kitchenware.
Q2. How do I know if my glue is food-safe?
Check the packaging for FDA approval, “food-safe,” or “non-toxic” labels. When in doubt, contact the manufacturer.
Q3. Can a metal teapot lid be repaired the same way?
Yes, but instead of ceramic glue, use heat-resistant epoxy suitable for metal.
Q4. How long should I wait before using my teapot again?
At least 24 hours after gluing, unless the adhesive instructions specify otherwise.
Q5. Is it worth fixing a cheap teapot?
If it’s sentimental, yes. But if it’s an inexpensive teapot with major cracks, replacement may be a better option.